DIY Kitchen Cabinet Makeover: Transform Your Cabinets with These Simple Steps
If you’re tired of spending so much time in a drab kitchen, you may be in need of a DIY kitchen cabinet makeover. Does it feel like something is taking the joy out of cooking? Do those dark wood cabinets make your space feel small, dark, and unappealing? You can transform your cabinets in a few simple steps and bring a whole new aesthetic to your most used room. From a splash of color to decorative handles, you can give your kitchen cabinets a well-deserved makeover with a small budget!
Contents
Understanding Your Kitchen Layout
Before starting any DIY kitchen cabinet makeover project, it’s important to understand the layout of your kitchen. This will help in determining the best approach for your makeover and ensure that the end result is functional and aesthetically pleasing.
The first step is to measure the dimensions of your kitchen and make note of any obstacles such as windows, doors, and appliances. This will help in determining the amount of space available for cabinets and the layout that will work best.
Next, consider the work triangle – the path between the stove, sink, and refrigerator. This is an important factor in determining the layout of your cabinets and ensuring that the kitchen is functional. The work triangle should be efficient and allow for easy movement between the three main work areas.
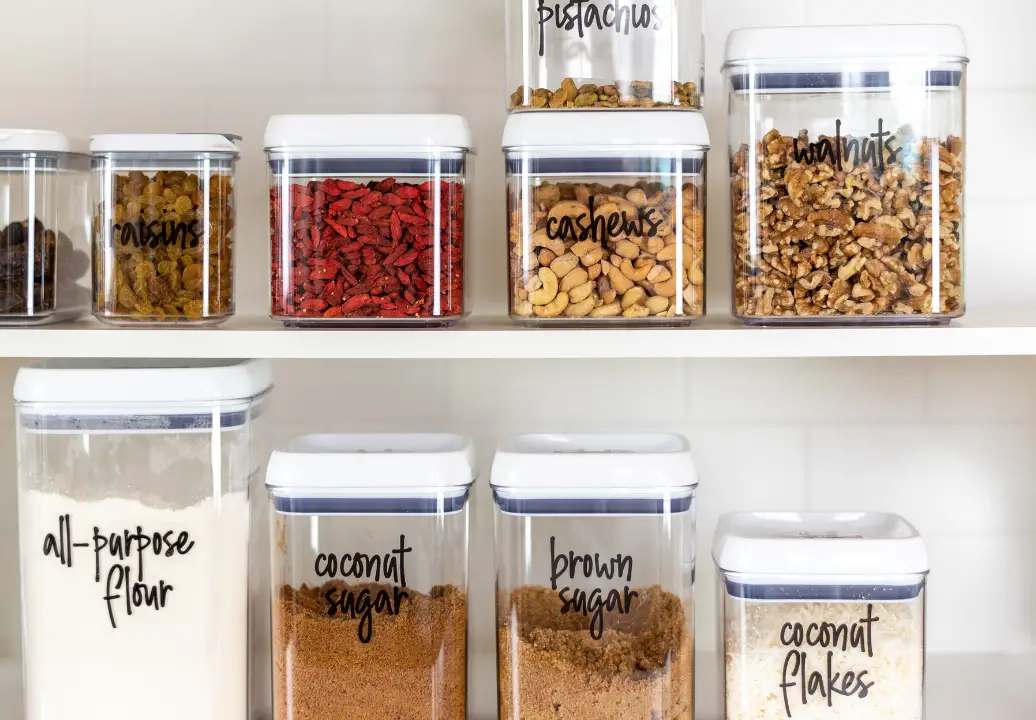
Another important consideration is the style of cabinets that will work best with your kitchen layout. For example, if you have a small kitchen, open shelving or glass-front cabinets can help to create the illusion of more space. On the other hand, if you have a larger kitchen, you may want to consider adding an island or peninsula for additional storage and counter space.
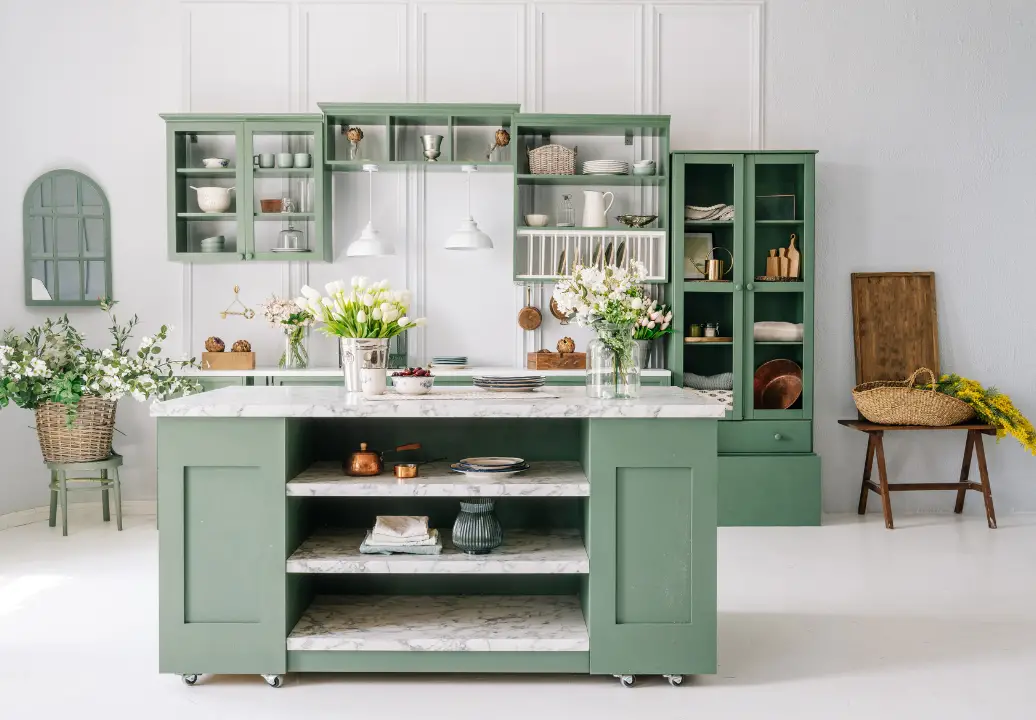
Finally, consider the overall style and color scheme of your kitchen. The cabinets should complement the existing décor and create a cohesive look. This can be achieved through the use of coordinating colors, finishes, and hardware.
By taking the time to understand your kitchen layout, you can ensure that your DIY kitchen cabinet makeover is a success and results in a functional and beautiful space.
Choosing the Right Design
When it comes to giving your kitchen cabinets a makeover, choosing the right design is crucial. The design you choose can make or break the overall look and feel of your kitchen. Here are a few things to consider when choosing the right design for your kitchen cabinets:
1. Consider the Style of Your Kitchen
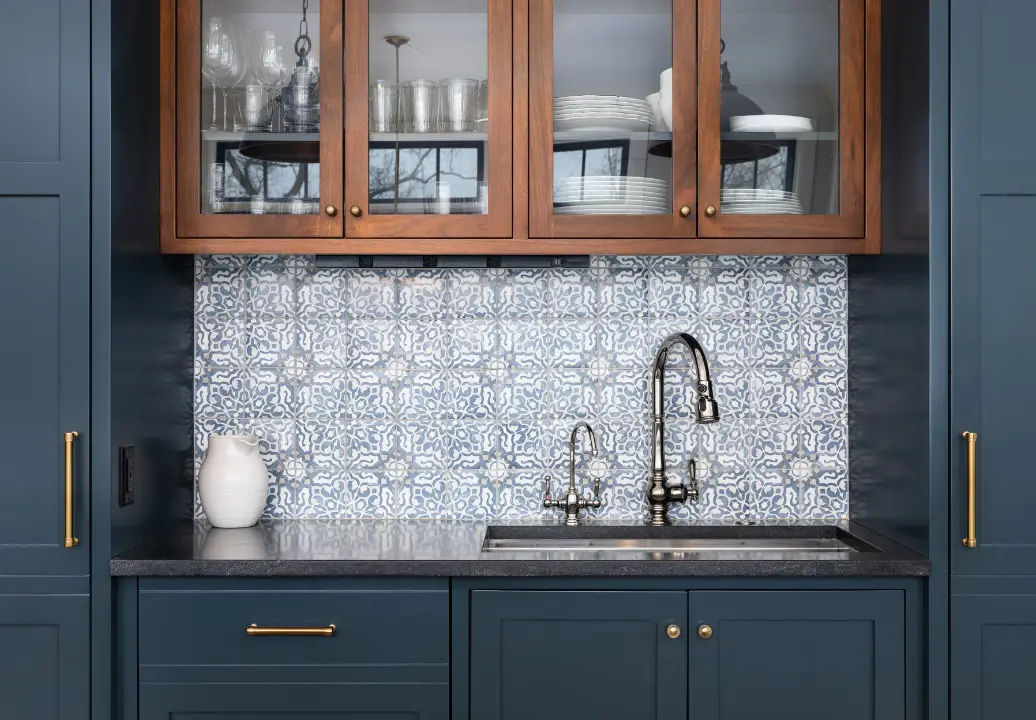
The style of your kitchen will play a big role in determining the design of your cabinets. If you have a traditional kitchen, you may want to go for a classic design with ornate details and a warm, inviting color scheme. If you have a modern kitchen, you may want to go for a sleek, minimalist design with clean lines and a neutral color palette. Have a beautiful backsplash? Consider coordinating your cabinet color choice with the stylings of your kitchen backsplash.
2. Think About Functionality
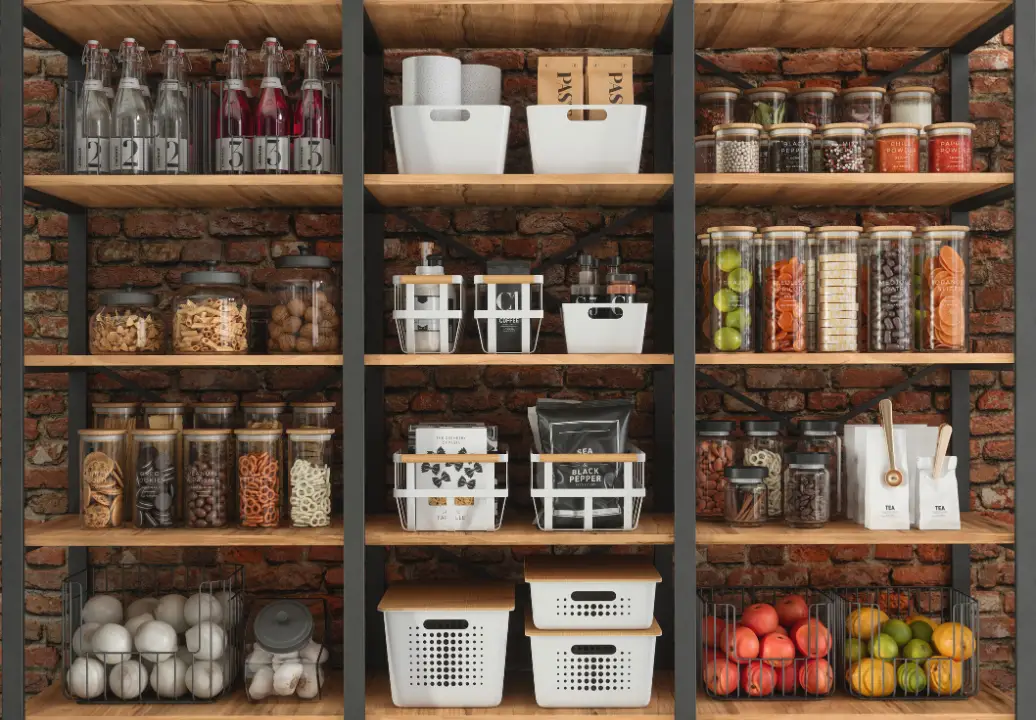
While the aesthetic appeal of your cabinets is important, you also need to consider their functionality. Make sure the design you choose is practical and meets your storage needs. Consider the size and layout of your kitchen, as well as the items you need to store in your cabinets.
3. Choose the Right Materials
The materials you choose for your cabinets will also impact their overall look and feel. Wood is a popular choice for kitchen cabinets, but there are many other options available, such as metal, glass, and laminate. Consider the durability, maintenance requirements, and cost of each material before making a decision.
4. Don’t Be Afraid to Get Creative
Finally, don’t be afraid to get creative with your cabinet design. You can add unique details, such as glass doors, decorative hardware, or a bold color scheme, to make your cabinets stand out. Just make sure the design you choose complements the overall style of your kitchen and meets your functional needs.
By considering these factors, you can choose the right design for your kitchen cabinets and create a space that is both functional and beautiful.
What Materials Do You Need for a Cabinet Makeover?
When it comes to DIY kitchen cabinet makeovers, having the right materials is key to achieving a successful outcome. From sandpaper and primer to hardware, you’ll want to prepare all the essential materials before you begin.
Paint and Primer
The first step in any kitchen cabinet makeover is to prep the surface for painting. This involves sanding the cabinets, applying a primer, and then painting the cabinets with a high-quality paint. When choosing a paint, it’s important to select a paint that is specifically designed for cabinets and is durable enough to withstand daily wear and tear. Some popular cabinet paint brands include Benjamin Moore, Sherwin Williams, and Behr.
Sandpaper
Sanding the cabinets is an important step in the prep process. It helps to remove any existing finish or paint and creates a rough surface for the primer to adhere to. When sanding, it’s best to use a fine-grit sandpaper (around 220 grit) to avoid damaging the wood. It’s also important to wear a dust mask and eye protection to avoid inhaling any dust particles.
Brushes and Rollers
Having the right brushes and rollers is important for achieving a smooth and even finish on the cabinets. For painting the flat surfaces of the cabinets, a foam roller or a high-quality brush is recommended. For painting the edges and corners of the cabinets, a small brush or a foam brush can be used.
Hardware
Replacing the hardware on the cabinets is a great way to give them a fresh new look. When choosing hardware, it’s important to select hardware that is the right size and style for the cabinets. Some popular hardware options include knobs, pulls, and handles. It’s also important to consider the finish of the hardware and make sure it complements the color of the cabinets.
Preparation Steps
Before starting a DIY kitchen cabinet makeover, it is important to properly prepare the cabinets. This involves cleaning the cabinets, removing hardware, and sanding the surface. These preparation steps will ensure that the new paint or stain adheres properly and the finished product looks professional.
Cleaning the Cabinets
The first step in preparing the cabinets is to thoroughly clean them. This involves removing any dirt, grease, or grime that has built up on the surface. To do this, a mild detergent and warm water can be used. It is important to avoid using harsh chemicals, as they can damage the wood or finish.
Once the cabinets have been cleaned, they should be allowed to dry completely before moving on to the next step.
Removing Hardware
Before sanding or painting the cabinets, it is important to remove all hardware, including knobs, handles, and hinges. This will make the process easier and ensure that all areas are properly covered.
To remove the hardware, a screwdriver can be used. It is important to keep all hardware in a safe place, as it will be needed when reassembling the cabinets.
Sanding Process
The final step in preparing the cabinets is to sand the surface. This will help to remove any rough spots or imperfections and create a smooth surface for painting or staining.
To sand the cabinets, a fine-grit sandpaper can be used. It is important to sand in the direction of the wood grain to avoid damaging the surface.
After sanding, the cabinets should be wiped down with a damp cloth to remove any dust or debris. They are now ready for the next step in the DIY kitchen cabinet makeover.
Painting Techniques
When it comes to painting kitchen cabinets, it’s important to follow the right techniques to achieve a professional-looking finish. Here are some tips on how to prime and paint your cabinets for a beautiful DIY kitchen makeover.
Priming the Cabinets
Before painting your cabinets, it’s important to prime them to ensure that the paint adheres properly and lasts longer. Here are some steps to follow when priming your cabinets:
- Clean the surface: Use a degreaser to clean the surface of the cabinets thoroughly and remove any dirt, grease, or grime. Rinse with water and allow to dry completely.
- Sand the surface: Use a fine-grit sandpaper to sand the surface of the cabinets. This will help the primer adhere better to the surface and create a smooth finish.
- Apply the primer: Use a paintbrush or roller to apply the primer to the cabinets. Be sure to apply a thin, even coat and allow it to dry completely before applying the paint.
Applying the Paint
Once you’ve primed your cabinets, it’s time to apply the paint. Here are some tips on how to apply the paint for a professional-looking finish:
- Choose the right paint: Choose a high-quality paint that is specifically designed for kitchen cabinets. Look for a paint that is durable, easy to clean, and has a smooth finish.
- Apply the paint in thin coats: Use a paintbrush or roller to apply the paint in thin, even coats. Be sure to allow each coat to dry completely before applying the next one. This will help prevent drips and ensure a smooth finish.
- Sand between coats: Use a fine-grit sandpaper to sand the surface between coats of paint. This will help create a smooth finish and ensure that the paint adheres properly to the surface.
Finishing Touches
After you’ve painted your cabinets, it’s important to add some finishing touches to complete the look. Here are some tips on how to finish your cabinets:
- Add hardware: Choose new hardware that complements the style of your cabinets. This can include knobs, handles, or pulls.
- Apply a topcoat: Apply a clear topcoat to protect the paint and ensure that it lasts longer. Look for a topcoat that is specifically designed for kitchen cabinets.
- Reattach the doors and drawers: Once the paint and topcoat have dried completely, reattach the doors and drawers to the cabinets. Be sure to align them properly and tighten any screws or hardware.
Hardware Installation
Replacing cabinet hardware is a simple and cost-effective way to give your kitchen a fresh look. Here are some steps to guide you through the process:
- Remove old hardware: Using a screwdriver, remove the screws that hold the old hardware in place. If the hardware is glued on, gently pry it off with a putty knife.
- Measure and mark: Measure the distance between the screw holes of the old hardware. Use a tape measure to mark the same distance on the new hardware. This will ensure that the new hardware is properly aligned with the existing holes.
- Drill new holes: If the new hardware has different screw hole placements, mark the new holes with a pencil. Use a drill to make the new holes. Be sure to use a drill bit that is the same size as the screws that came with the new hardware.
- Attach new hardware: Insert the screws through the back of the cabinet or drawer and through the new hardware. Tighten the screws with a screwdriver, being careful not to over-tighten and strip the screw holes.
When purchasing new hardware, consider the size and style of the hardware. Knobs and handles come in a variety of sizes and shapes, so choose one that fits comfortably in your hand. Additionally, consider the finish of the hardware. Popular finishes include brushed nickel, oil-rubbed bronze, and polished chrome.
By following these simple steps, you can easily update the look of your kitchen cabinets without breaking the bank.
Maintaining Your Cabinets
Maintaining your newly updated kitchen cabinets is just as important as the makeover itself. With proper care and attention, you can extend the life of your cabinets and keep them looking great for years to come.
Here are a few tips for maintaining your cabinets:
Cleaning
Regular cleaning is essential to keep your cabinets looking their best. Use a soft cloth and a mild cleaner to wipe down the surfaces of your cabinets. Avoid using harsh chemicals or abrasive scrubbers, as they can damage the finish. For tough stains, use a baking soda paste or a vinegar solution.
Avoiding Water Damage
Water can damage the finish on your cabinets, so it’s important to avoid getting them wet. Be careful when cleaning around the sink and other areas where water is present. If you do get water on your cabinets, be sure to dry them off immediately to prevent damage.
Preventing Scratches
Scratches can detract from the beauty of your cabinets, so it’s important to take steps to prevent them. Avoid using abrasive materials when cleaning your cabinets, and be careful when handling heavy or sharp objects near them. You can also use felt pads on the bottom of items that are placed on your cabinets to prevent scratches.
Checking for Damage
Regularly inspect your cabinets for any signs of damage, such as cracks, chips, or peeling. If you notice any issues, address them as soon as possible to prevent further damage. You can touch up small areas with paint or stain, or replace damaged pieces if necessary.
By following these simple tips, you can keep your newly updated kitchen cabinets looking great for years to come.
So, what are you waiting for? It’s time to give your kitchen a little facelift and turn your space into the enjoyable room it’s meant to be. Get started with all the tools and materials you need to begin your DIY kitchen cabinet makeover.